
Overview

How to...
Create a Business
Business are automatically created in Console as soon as those 2 conditions are met:
- In SalesForce an account is created with an opportunity
- In Bo Propale, the account has one proposal “validated by merchant”
Data pushed from SalesForce to Console are:
- Business name (/Company name)
- Business Unit
- SalesForce URL to the opportunity
- The team members: Sales, SalesOperation, Account Manager and TAM when provided
- The merchant score
Modify a Business
You can’t modify a Business in Console. You should do it from SalesForce. All data input in SalesForce will be automatically reflected in Console.
Complete information of the Business notice
 The button search business information will fetch business legal information from Credit safe. Input business name or siret number in the pop up window to launch the request
Send the Welcome email to the merchant

On the Business Notice, create a merchant administrator using this button. The administrator is the person who will complete the form and be your main contact for administrative purposes.

Then, create the verification using the button below the block verification. You will open a pop up window where all fields are mandatory:
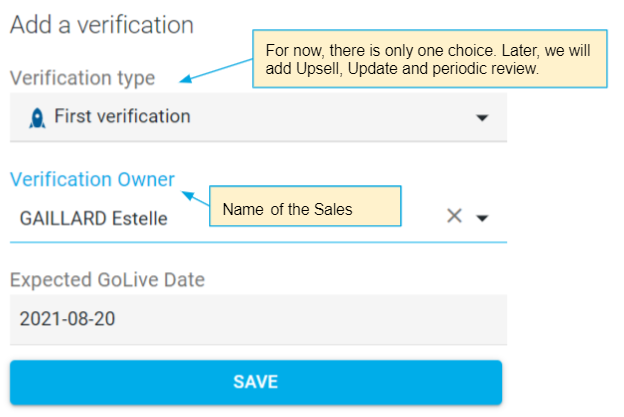
The verification appears in the verification table as draft. Click on it to open the verification and send the Welcome email.


Once on the verification notice, send the welcome email using the button in the first block.
There are 2 steps to send the welcome email. The second step is to select the documents that are required according to the merchant profile. All the documents selected will be listed in the Welcome email into the enclosed pdf.
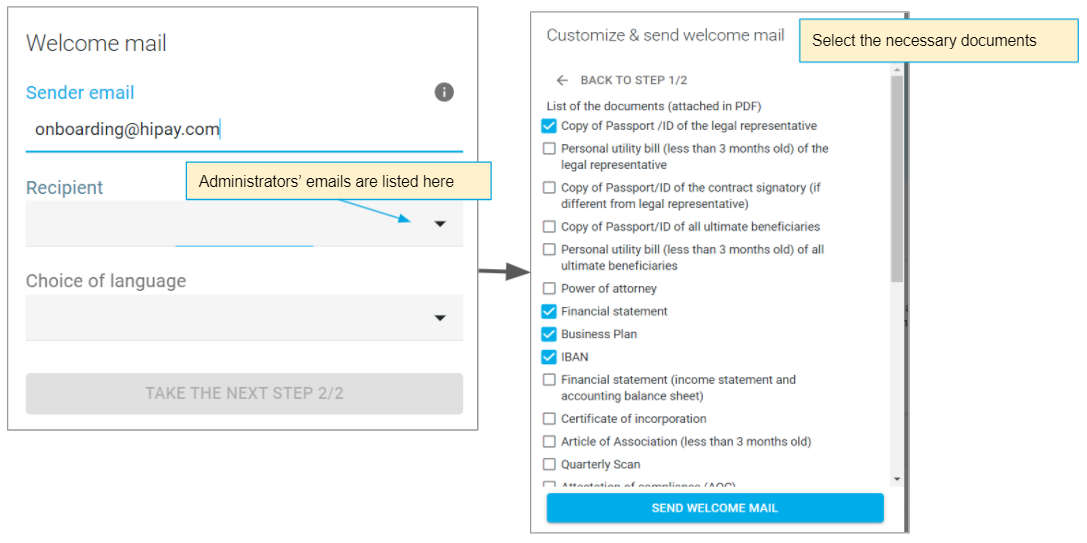
Important Note: For now, there is no connection between the document selected here and the list of document-upload fields displayed in the onboarding form. The merchant will see all the documents that can be demanded. Don’t forget to tell him that only the documents listed in the pdf are required!
Note 2:
If the button is grey, then you forgot to add an administrator in the Business Notice. You must go back to the previous page and create it first to unlock this functionality.
Help the merchant to fill in his form
Once the verification is created, you can start completing the form. All your inputs are automatically saved and displayed in the merchant interface. If you upload documents on his behalf, they will appear as well to the merchant.
The same logic applies when a merchant is populating the form: you will see all information instantaneously on the Console internal side. Documents appear in the table “Merchant documents” of the verification notice. Here, you can view and validate the document.
The form will switch to read only mode once the merchant has sent its data using the button “Send information”. In this case, you have to use the button “request data modification” to ask for a change. The reason why is that merchants are the garant of the information provided as they have a contractual value. You are not allowed to modify information without their consent.
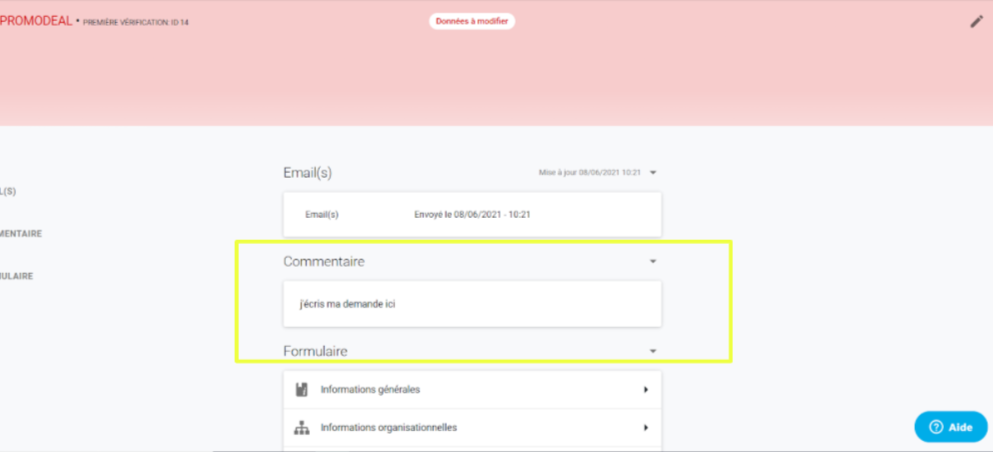
On the Verification page, below the verification form, click on the button request data modifications. The comment typed into the box will appear on the merchant side. 
A notification is sent to the merchant when you click on the button Send
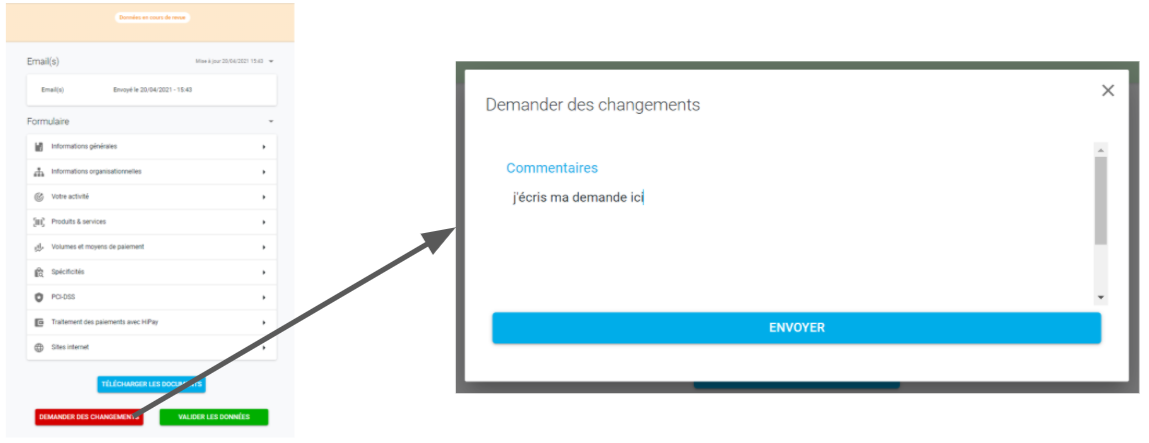
Your comment will appear on both internal and Merchant side:
On internal side, your comment will appear at the top of the verification page until you:
- click on “End data review”
- click on “request data modifications” for a second time. Only the last comment is displayed on the interface.

When you get all necessary information, you must click on the button “End data review” below the verification block to end your task and forward the onboarding file to the Onboarding team.
Comments
0 comments
Please sign in to leave a comment.